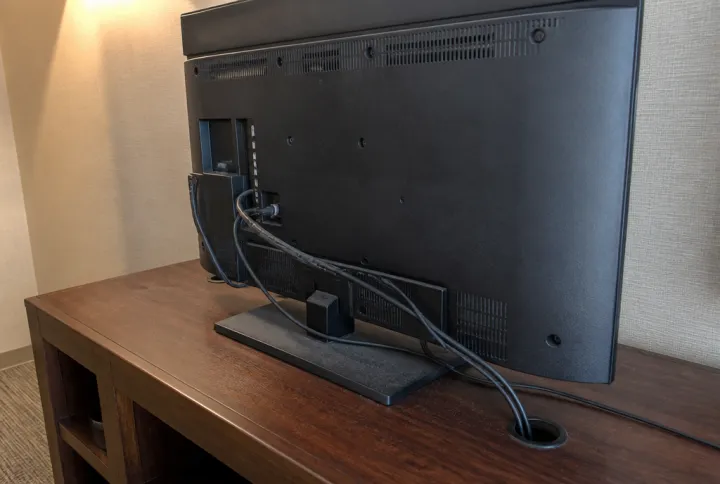
A TV panel can match the casegoods finish and still put the mount, connectors or service opening in the wrong place. Before releasing the panel drawing, bring the actual display model, mounting bracket and supporting-wall arrangement into the same decision. The screen size alone cannot set those interfaces.
Start with the equipment the hotel will use. If the display or mount is still undecided, keep the affected panel details open. A hole pattern made for a provisional model is a furniture commitment that may not suit its replacement.
Match the display to the exact bracket
Obtain the TV manufacturer's drawing and installation instructions. Record its weight in the proposed wall-mounted configuration, mounting-hole pattern, required fasteners and any restrictions on the bracket arrangement. Include equipment attached to the display where the mounting system must carry it.
Compare those details with the exact mount's compatibility list and load limit. Peerless-AV's ST650P product page, for example, lists a 175-pound maximum load and mounting patterns that include 600 by 400 millimeters. It also says that the stated screen-size range is a selection guideline; compatibility depends on the pattern and maximum weight. Those values belong to that mount, not to every bracket intended for a similar screen.
VESA dimensions describe the mounting pattern on the display. They do not describe the wall plate's fixing holes or approve the furniture behind it. Keep the display-to-bracket connection separate from the bracket-to-support connection on the drawing, so neither is lost under a general note saying “TV mounting.”
Have the installer confirm the required display screws, spacers and engagement from the current equipment instructions. A packet of included screws is not confirmation that every screw suits the selected TV. Leave that choice with the equipment maker's requirements and the qualified installer.
Show what actually carries the TV
Identify whether the decorative panel is merely a finish around a wall-mounted bracket or forms part of an approved supporting assembly. Show the wall plate, panel thickness, any stand-off arrangement and the structural support behind them. The furniture drawing needs to agree with the mounting design before either supplier commits to holes or hardware.
The ST650P instructions linked by the maker describe installation on wood-stud, solid-concrete or cinder-block walls and require the supporting surface to carry the combined equipment and hardware load. That instruction does not approve an unspecified decorative casegoods panel as the support.
Ask the responsible installer or designer to confirm the actual assembly, including fixings through any finish layer. If the proposal uses a different substrate or furniture structure, obtain approval for that arrangement from the appropriate parties. Do not transfer a wall mount's load figure to a panel merely because its finish and thickness look substantial.
Name who supplies the panel, mount and structural work. A furniture supplier should not discover after manufacture that the wall plate needs a different fixing location; the installer should not have to infer an unseen backing arrangement from the finished panel.
Locate the picture using the mounted geometry
Use the manufacturer's drawing to locate the display relative to its mounting holes. A hole pattern centered on the back is not a promise that every TV body sits in the same position around the bracket. Include the mount's available adjustment and the installed display depth in the room elevation.
Review that elevation from the intended bed and seating positions with the hotel team. Check the relationship to the console, desk, mirror, lamps and other retained furniture. A larger display may cover an outlet or a panel joint that the smaller provisional screen left visible.
If the selected mount tilts or moves, show the permitted movement against the surrounding finish. Ask the installer to review that movement with the connected equipment and cables. Specify the arrangement being approved rather than treating a flat front elevation as the whole installation.
Leave room to connect and service the equipment
Mark the actual connection locations on the equipment drawing. Include the plugs and any devices housed behind the display, not only the empty TV body. Ask the equipment team for the space needed to connect them and follow the TV manufacturer's ventilation requirements.
Have the service team explain how it will reach those connections once the panel is installed. Does the intended mount position provide access, or does the display need to be removed by an instructed method? Show any removable panel section and its fixings. An access opening that disappears behind the wall plate does not complete that job.
Agree how the display, bracket and panel are removed for an equipment change. Keep the required tools and access method with the installation information. Have the hotel's technology team confirm television-system, control and connection compatibility separately from the physical mounting arrangement.
Release one coordinated panel drawing
The final panel drawing should identify the accepted display and mount, the support assembly, fixing and opening locations, overall mounted position and service-access method. Have the furniture supplier and responsible installation team review the same revision. If the display or bracket changes, reopen the affected details before the panel is manufactured.
Use the hotel furniture inquiry for a panel or coordinated casegoods project, with room types, quantities, delivery location and the equipment information already confirmed. Ask the supplier whether it can provide the required panel and interface details. The furniture inquiry does not establish supply of the example bracket, the TV or structural installation services.
Once installed, the mounting enters the hotel's anchoring program. The buying work comes first: the ordered panel must leave the actual equipment supported, connected and accessible without a fresh design decision in the room.